Part 3, Import a Database
This topic is a hands/on introduction to GigaSpaces XAP. It is designed to give you a quick, easy introduction to the GigaSpaces system.
This introduction consists of four parts:
-
Part 1 — Setting the Environment — Prepare a database that will be imported into GigaSpaces. In these examples, we will use data from the PostgreSQL database.
-
Part 2 — Launch Ops Manager — Run and view the GigaSpaces user interface.
-
4 Part 3 — Import a Database (this topic) — Bring data from the PostgreSQL database into the GigaSpaces in-memory data grid, and run some SQL operations.
-
Part 4 — Convert a Program — Explore the tools to convert a Java program from JDBC access to the GigaSpaces Java API.
Need assistance or further information? Don't hesitate to contact us — we're here to help!
The following steps will show you how to copy data from the PostgreSQL database into the GigaSpaces in-memory data grid. You will also see the resulting GigaSpace service and Space, and will be able to perform SQL operations on the data.
Click on each item below to see the relevant instructions.
1. Connect to the Database
Click on Connect to data source, to see the Data Connectivity window:
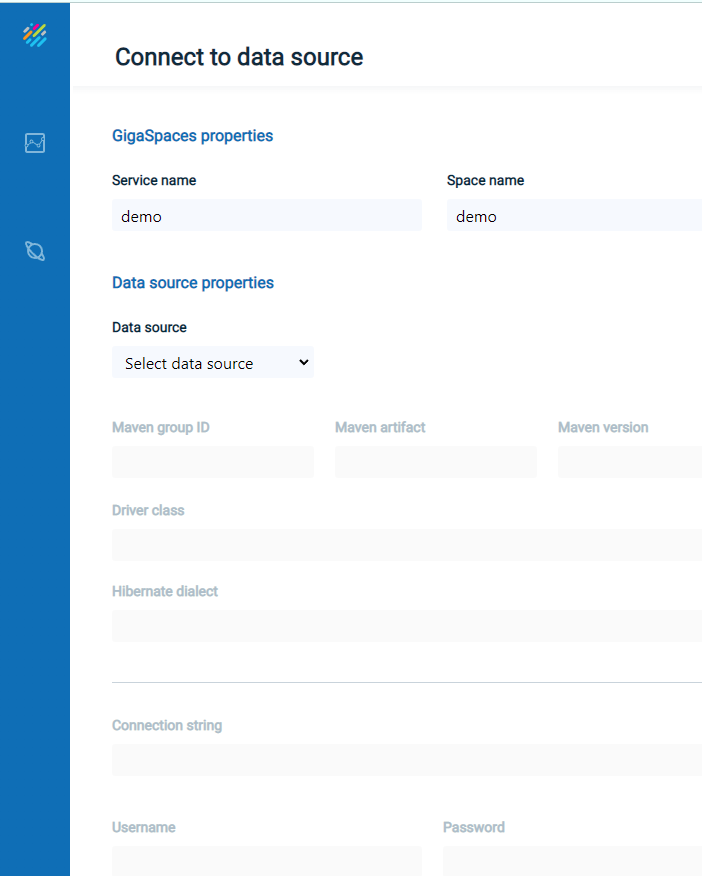
In order to connect to data from the PostgreSQL database, proceed as follows.
Select the data source as Postgres:

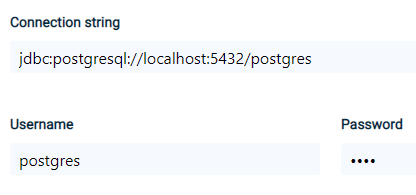
Enter the connection string for the PostgreSQL database, and the PostgreSQL user/password.
 Click here for details on how to find the connection string.
Obtain the Connection String
The connection string of the database is used by GigaSpaces and Java JDBC programs to access the database. The connection string can be accessed as follows:
Right-click on the Postgres server and click on Properties.... In the Properties dialog box, click on Connection.

Based on this information, the JDBC connection string is defined as follows:
jdbc:postgresql://localhost:5432/postgres
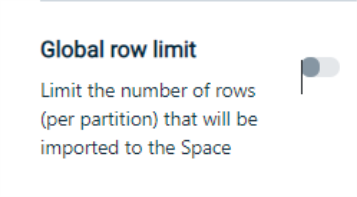
In the Advanced section, remove the limit of the number of records in the Space:
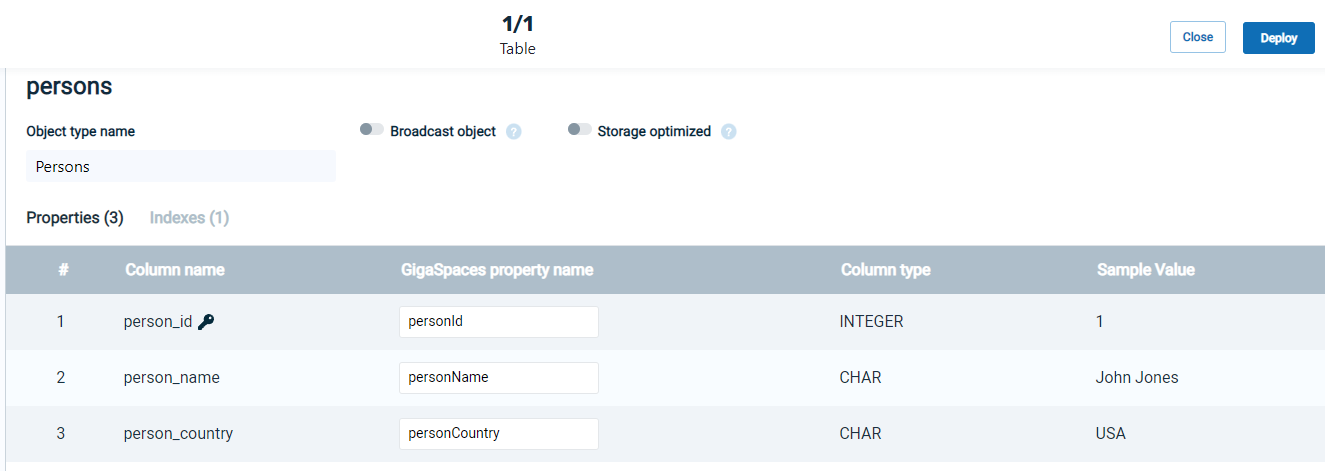
Press Next and the Persons table will display:
Click on each item to see the relevant instructions.
| 1. Connect to the Database
|
Next : 2. Deploy GigaSpaces
|
3. View the Services
|
| 4. View the Spaces
|
5. View the Object Types
|
6. Perform SQL Operations on the Object Data
|
2. Deploy GigaSpaces
Click on Deploy, then choose the Automatic deployment method:
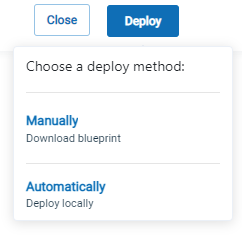
A screen will display indicating that the deployment process is underway:

When the deployment is successful, the following message will appear:

Click on each item to see the relevant instructions.
| 1. Connect to the Database
|
2. Deploy GigaSpaces
|
Next: 3. View the Services
|
| 4. View the Spaces
|
5. View the Object Types
|
6. Perform SQL Operations on the Object Data
|
3. View the Services
On the side menu, click on the Services tab:

This will display the services that were created as a result of the deployment:
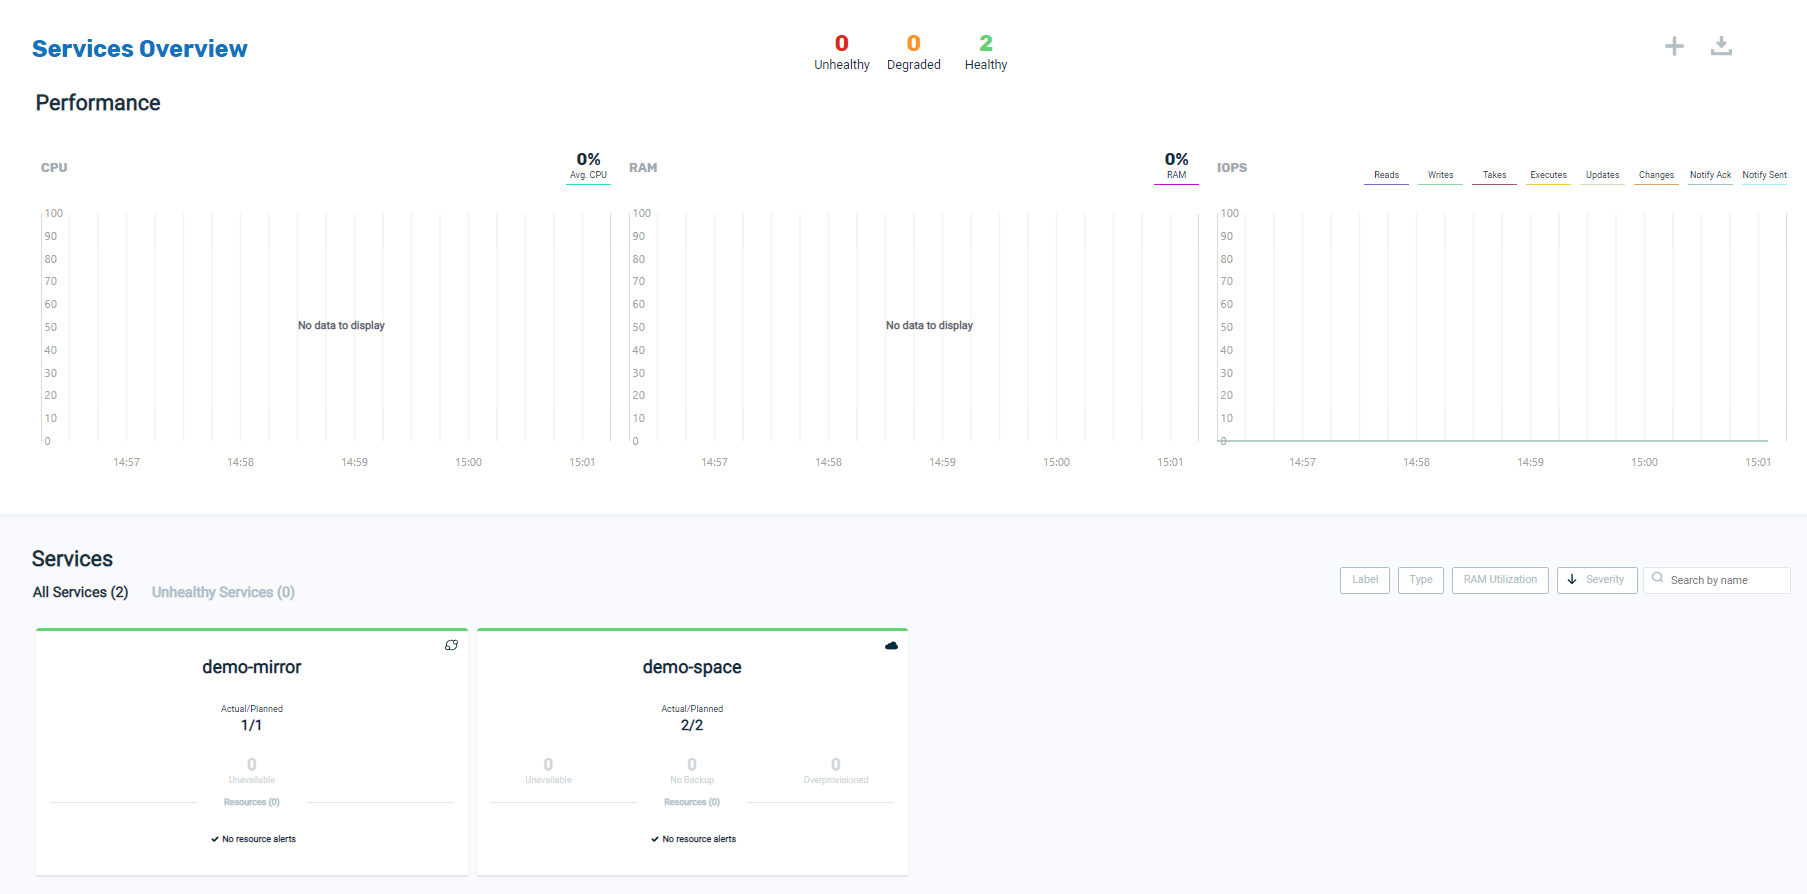
Click on each item to see the relevant instructions.
| 1. Connect to the Database
|
2. Deploy GigaSpaces
|
3. View the Services
|
| Next: 4. View the Spaces
|
5. View the Object Types
|
6. Perform SQL Operations on the Object Data
|
4. View the Spaces
Click on the Spaces tab:

to see the Spaces created by the deployment:
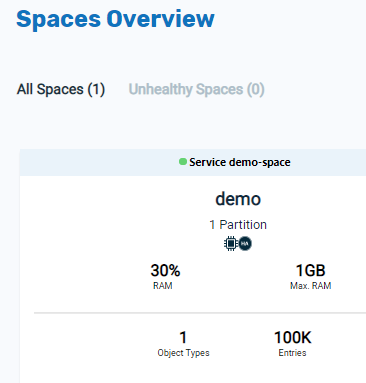
Click on the demo Space to see details of the Space object:
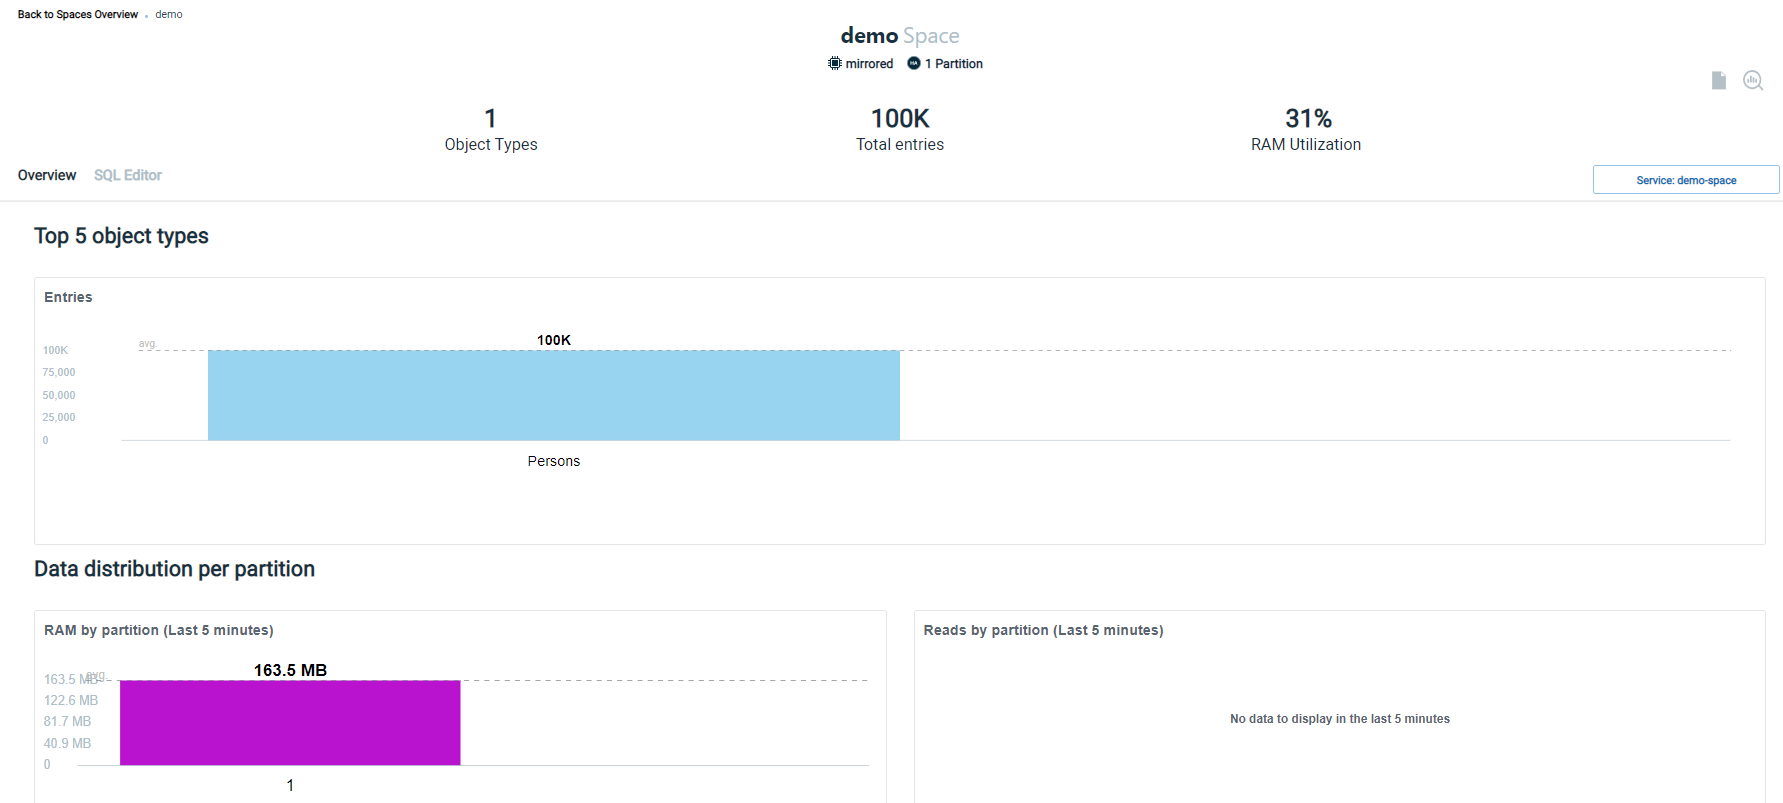

Click on each item to see the relevant instructions.
| 1. Connect to the Database
|
2. Deploy GigaSpaces
|
3. View the Services
|
| 4. View the Spaces
|
Next: 5. View the Object Types
|
6. Perform SQL Operations on the Object Data
|
5. View the Object Types
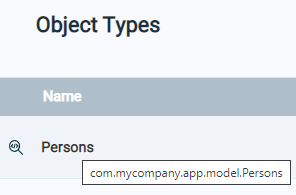
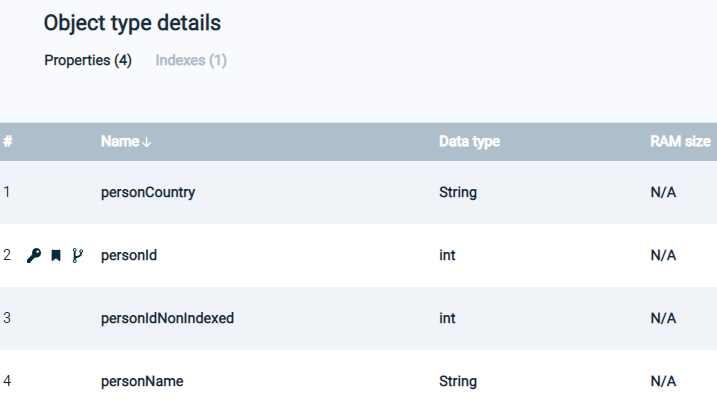
Scroll down the page to see the list of Object types in the space. In this example, there is one Object, the Persons Object. This Object corresponds to the Persons table that we created in PostgreSQL, and appears as follows:

Click on the Persons object:
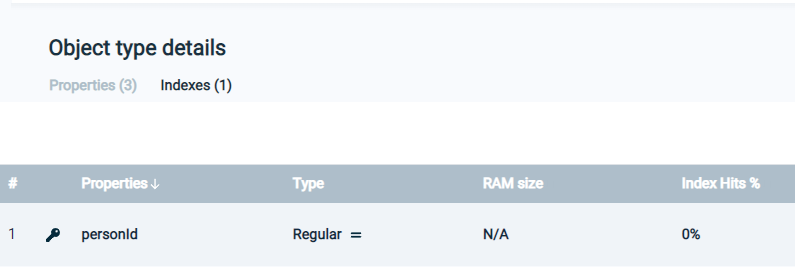
and detailed information about the Persons object will display:
Click on each item to see the relevant instructions.
| 1. Connect to the Database
|
2. Deploy GigaSpaces
|
3. View the Services
|
| 4. View the Spaces
|
5. View the Object Types
|
Next: 6. Perform SQL Operations on the Object Data
|
Click on the SQL Editor tab to see the default the SQL command:

To make it more interesting, modify the command as follows:
SELECT * FROM "com.mycompany.app.model.Persons" order by personId LIMIT 5000
Click on Run Query to see the query results:

Click on each item to see the relevant instructions.
| 1. Connect to the Database
|
2. Deploy GigaSpaces
|
3. View the Services
|
| 4. View the Spaces
|
5. View the Object Types
|
6. Perform SQL Operations on the Object Data
|
What's Next?
In Part 4 — Convert a Program, we explain how to convert a Java program from JDBC access to GigaSpaces.
Need assistance or further information? Don't hesitate to contact us — we're here to help!


