Creating a GigaSpaces Cluster in the Cloud
gsctl is a simple CLI tool for creating GigaSpaces clusters. You can create a cluster in minutes with a single command: run java -jar gsctl.jar create.
In this topic, you will learn how to create, provision and install a GigaSpaces cluster on Amazon Web Services (AWS) and then remove it by doing the following:
- Create a GigaSpaces cluster.
- Deploy GigaSpaces services in the cluster.
- Tear down the GigaSpaces cluster.
Prerequisites
Before beginning to work with the gsctl tool, ensure that you have the following:
-
Java 8 or higher installed on your local workstation.
-
AWS account and appropriate credentials as described in the AWS Command Line Interface documentation.
To deploy a GigaSpaces cluster in AWS you need the following:
- Valid AWS account
- Credentials that include
aws_access_key_idandaws_secret_access_key - Configuration parameters that include a defined
aws_region
Downloading and Running the Utility
The gsctl tool can be downloaded from a dedicated repository. You can start an interactive shell for gsctl and run commands using short notation, or you can run commands from outside the interactive shell (from the OS shell) by adding java -jar gsctl.jar before each command.
You must run the utility from the same directory where you placed the gsctl.jar file.
To download the gsctl utility and launch the interactive shell:
-
Create an empty directory on your machine. In this example, the drive is C: and the directory name is gsDemo.
-
Download the most current version of the utility (gsctl.jar file) from the dedicated repository to the directory you created (gsDemo).
-
To start the interactive shell, open a command window and type the following:
java -jar gsctl.jarjava -jar C:\gsDemo\gsctl.jar
Creating a GigaSpaces Cluster
Follow the steps in the procedure to create a GigaSpaces cluster and deploy the GigaSpaces services. All of the procedures on this page describe the short notation as used from inside the interactive shell.
To create a cluster:
-
Verify that an
.awsfolder exists in the home directory on your local machine, and that it contains the config and credentials files. The credentials file should include youraws_access_key_idandaws_secret_access_key, and the config files should include youraws_regionandoutputdefinitions.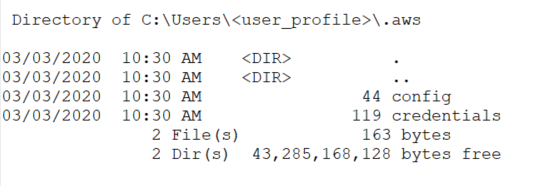
-
Open a command window and type the following to initialize the utility and define a cluster called
gs_demo_cluster:init --cluster-name=gs_demo_clusterThe
initcommand creates a cluster.yaml file, which you can modify to supply your AWS resources, such asVPC,keyName, andsecurityGroupsvalues. If you edit any parameter in the AWS section, you must provide all the values for the section.By default, the utility creates all the resources from the credentials and config files in the .aws folder.
name: gs_demo_cluster gsManagers: 3 clusterComponents: - type: "AWS" name: "AWS_1" userName: "<auto-generate>" keyName: "<auto-generate>" vpcId: "<auto-generate>" vpcSubnetId: "<auto-generate>" securityGroup: "<auto-generate>" amiId: "<auto-generate>" #iamInstanceProfileArn: "<auto-generate>" #uncomment the lines below in order to use volumes #volumes: # ebs: # - name: "default aws master name" # id: "<required parameter>" masters: label: "GS Cluster [gs_demo_cluster] Master Group" profiles: - name: "default aws master name" type: "m4.xlarge" tags: [] count: 3 workers: label: "GS Cluster [gs_demo_cluster] Worker Group" profiles: - name: "default aws worker name" type: "m4.xlarge" tags: [] count: 3 -
To deploy the cluster in the cloud, run the following command:
createThe cloud platform begins to create the cluster:
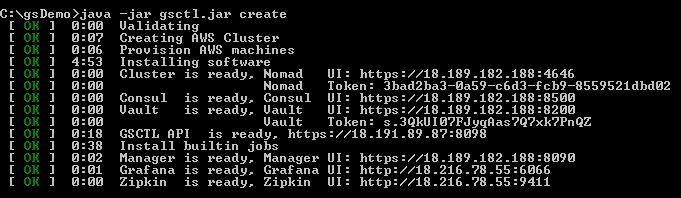
The Nomad token is required to log in to the Nomad UI. The token itself is also used as the password for the default users: gs-admin, gs-mngr and gs-viewer.
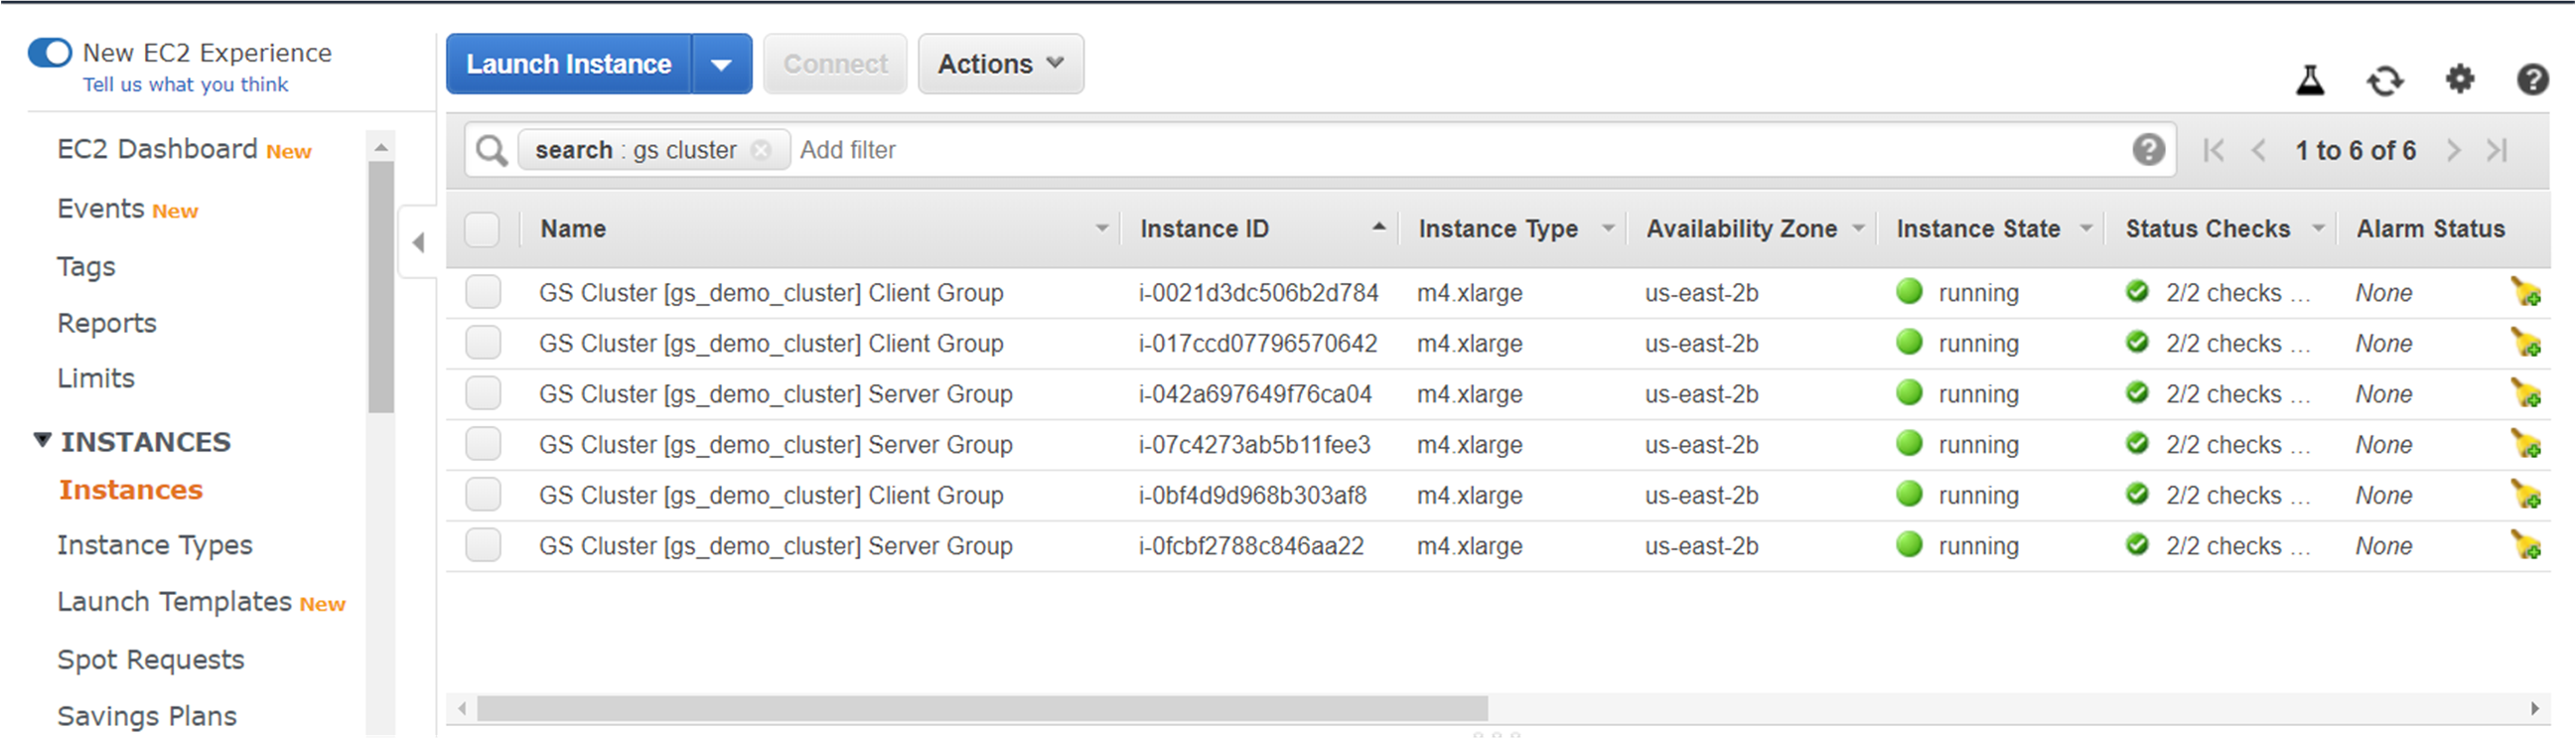
You can monitor the progress of the cluster in your cloud platform dashboard, for example the VPC Dashboard in AWS:

The process of creating the cluster takes only a few minutes until the nodes are up and running. You can see when the Master (server) nodes and Worker (client) nodes are running and have passed the status checks.
Deploying the GigaSpaces Services
After your cluster is up and running, you can deploy GigaSpaces services and microservices.
The deploy operation can be done using the GigaSpaces CLI (Deploy with Command Line), the REST API (Deploy with REST) and the Ops Manager (Deploy and Undeploy Services in Ops Manager).
The cluster is started as secured. Access to the Ops Manager and the REST API requires the user to be authenticated. Three built-in users are pre-defined: gs-admin, gs-mngr and gs-viewer. The password is the Nomad token from the output of the create command.
The gsctl tool comes with sample processor (stateful) and feeder (stateless) services in the default artifacts repository. To deploy them, use 'data-processor.jar' and 'data-feeder.jar' in the URL in the deploy screen.
For more information about the artifact repository, see the Managing the GigaSpaces Product Version topic.
Monitoring the GigaSpaces Services
After you deploy your GigaSpaces services and microservices, you can monitor them using the following built-in web interfaces:
- Ops Manager
- Grafana
- Zipkin
To access the administration and monitoring tools:
-
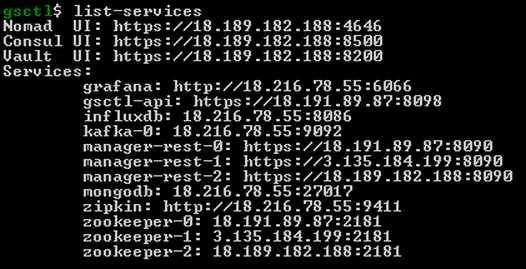
Run the following command:
list-servicesThis returns all the services with their URLs.
-
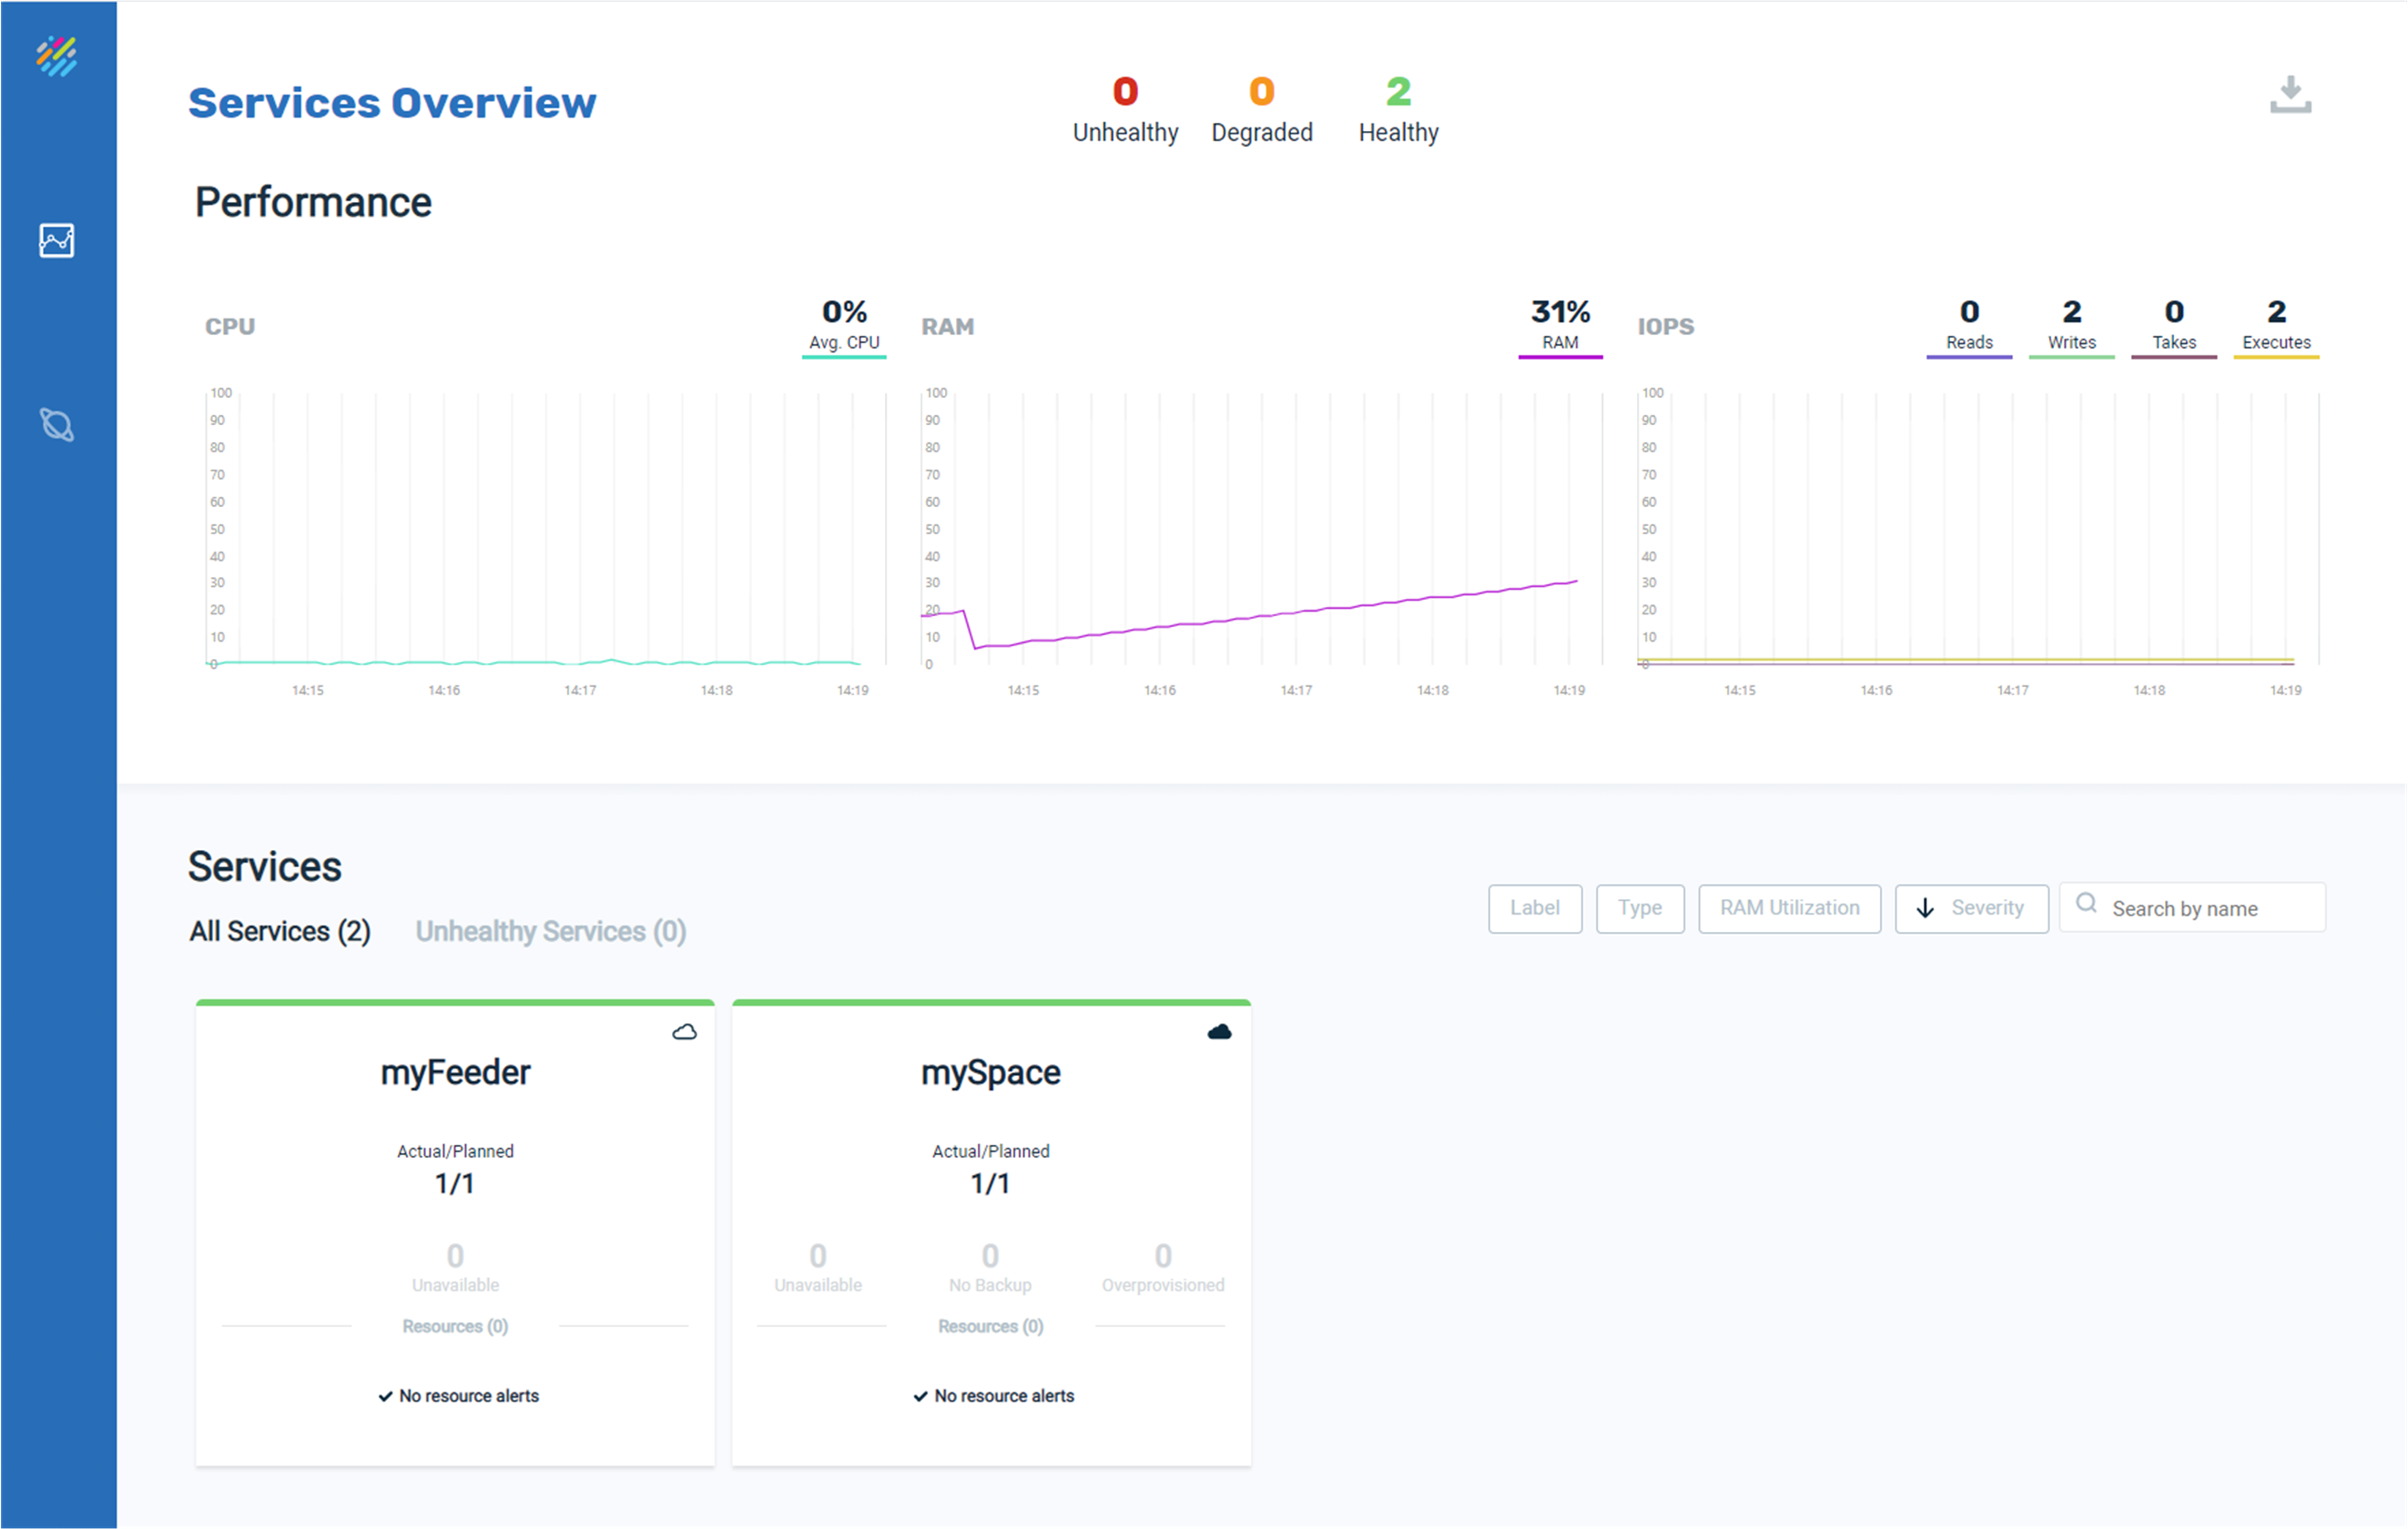
Copy any of the GigaSpacesManager URLs into your browser to open Ops Manager and view the deployed GigaSpaces services.
-
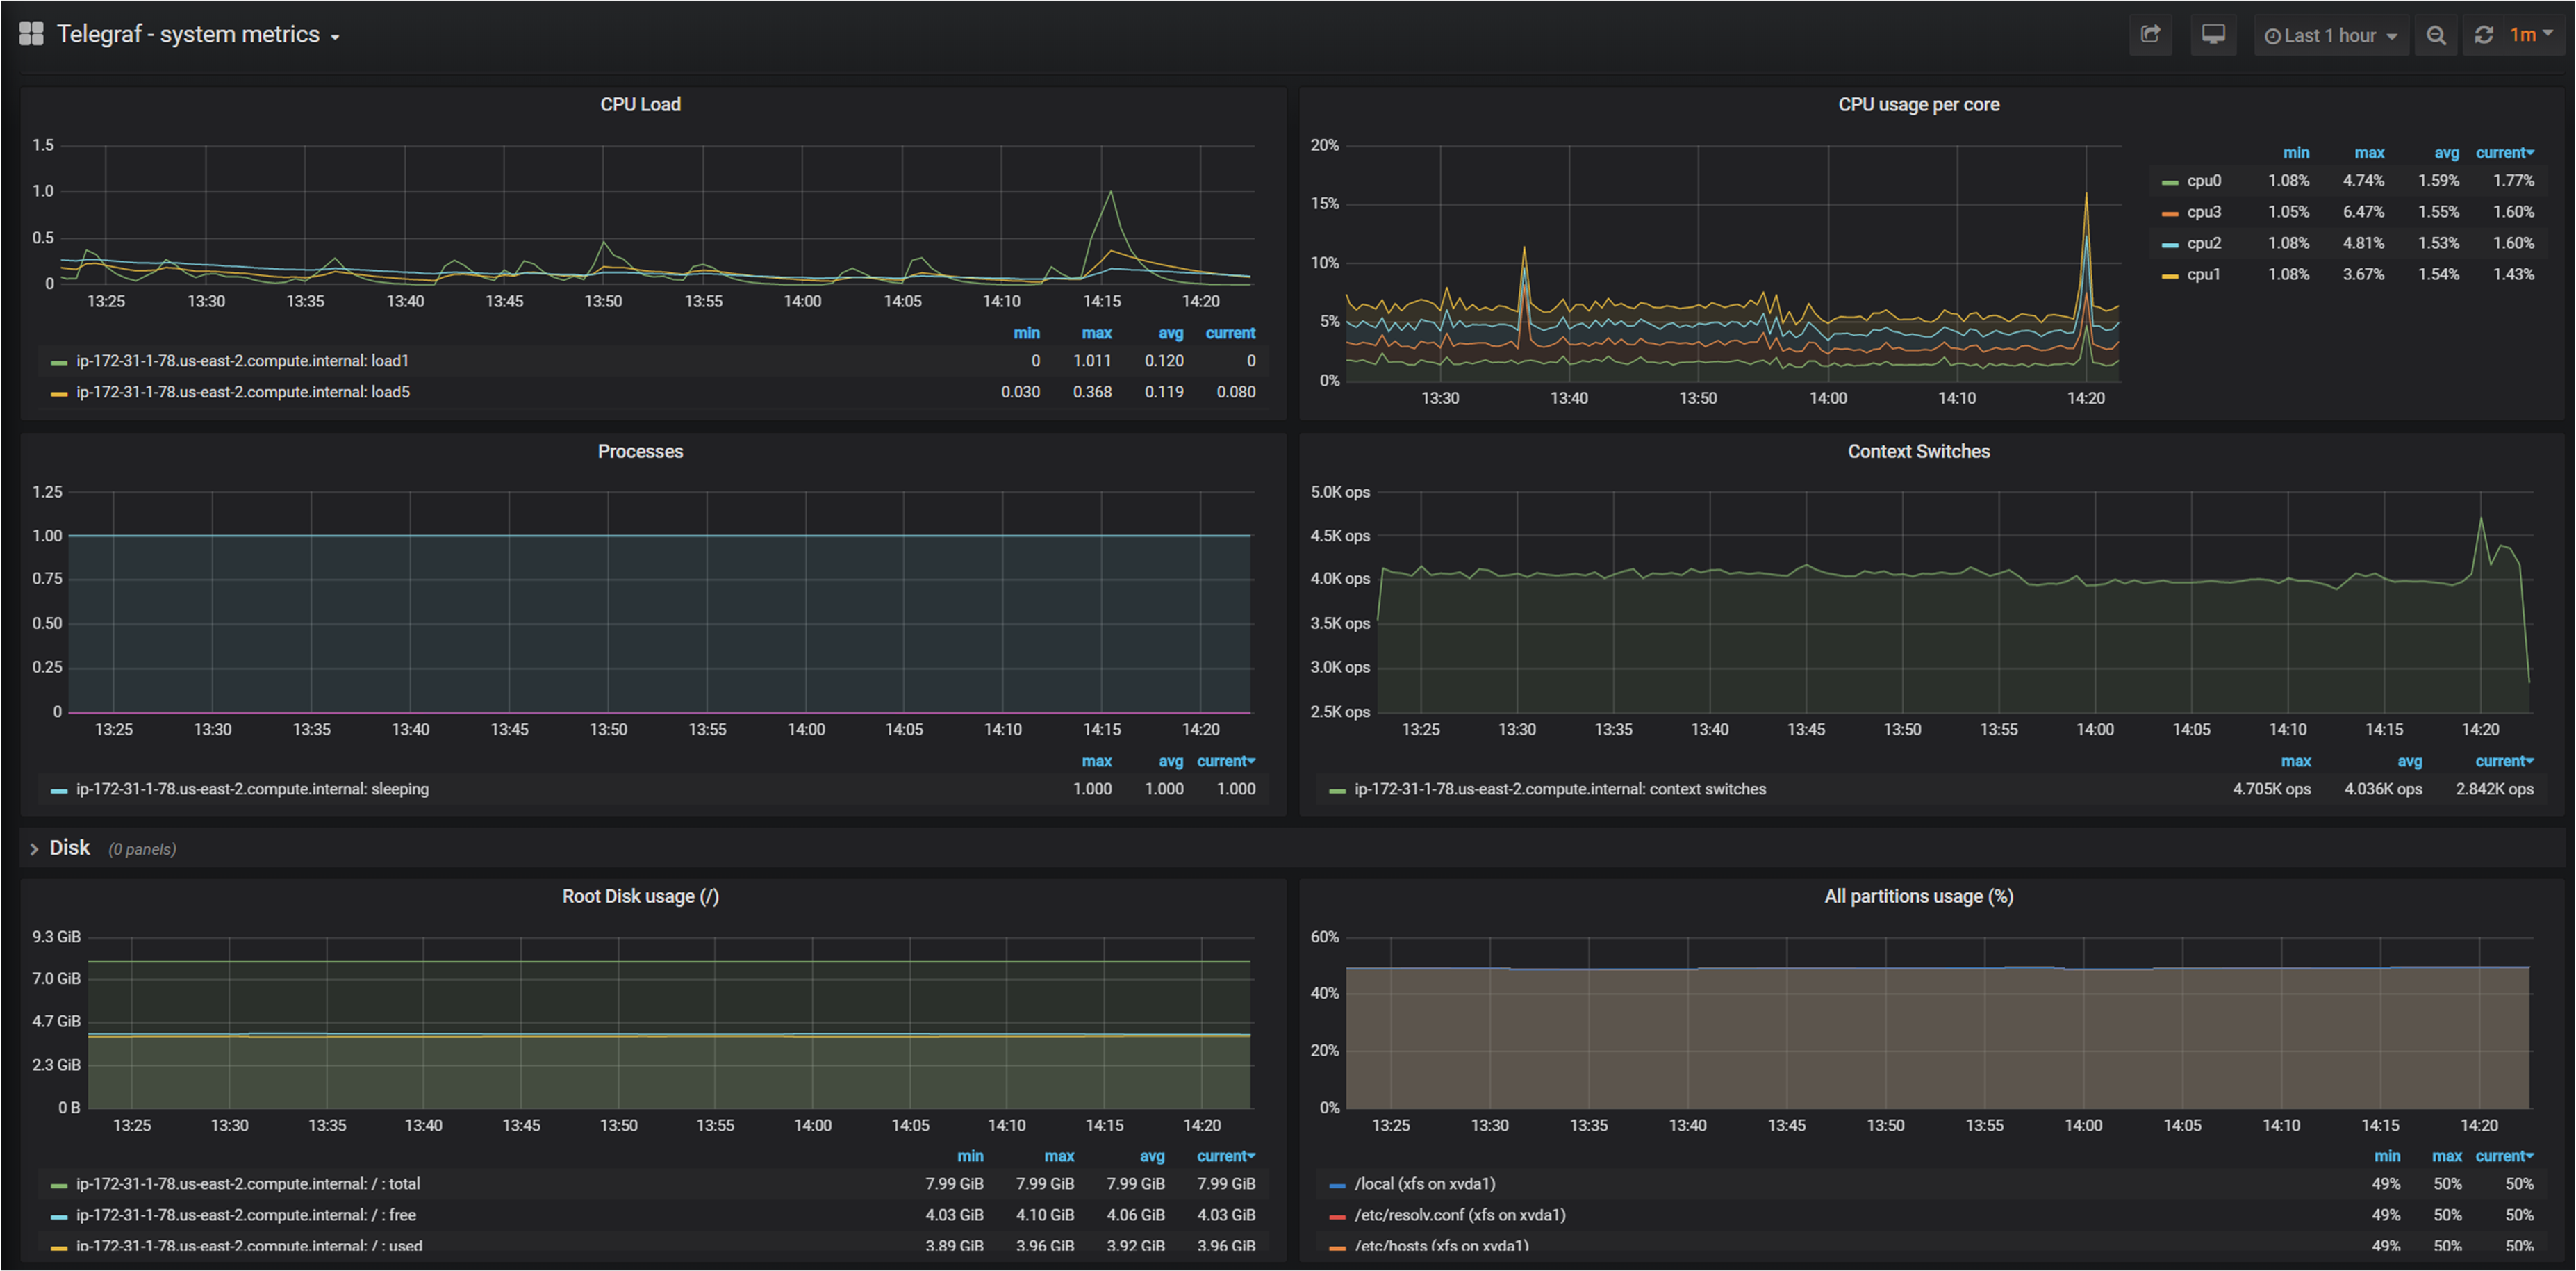
Copy the grafana URL to your browser to open Grafana and navigate to the pre-defined dashboards:

-
Select the Telegraf system metrics dashboard in Grafana to view the cluster metrics:
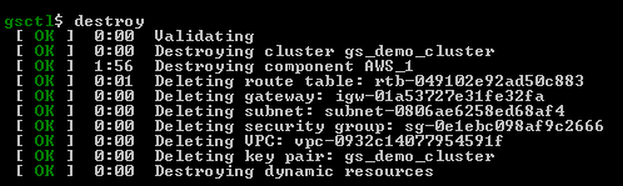
Removing a GigaSpaces Cluster
You can delete your cluster when you no longer need it, in order to release the cloud resources.
To remove the GigaSpaces cluster:
In the directory where you created the cluster, run the following command:
gsctl.jar destroyThis tears down the cluster.